Clients
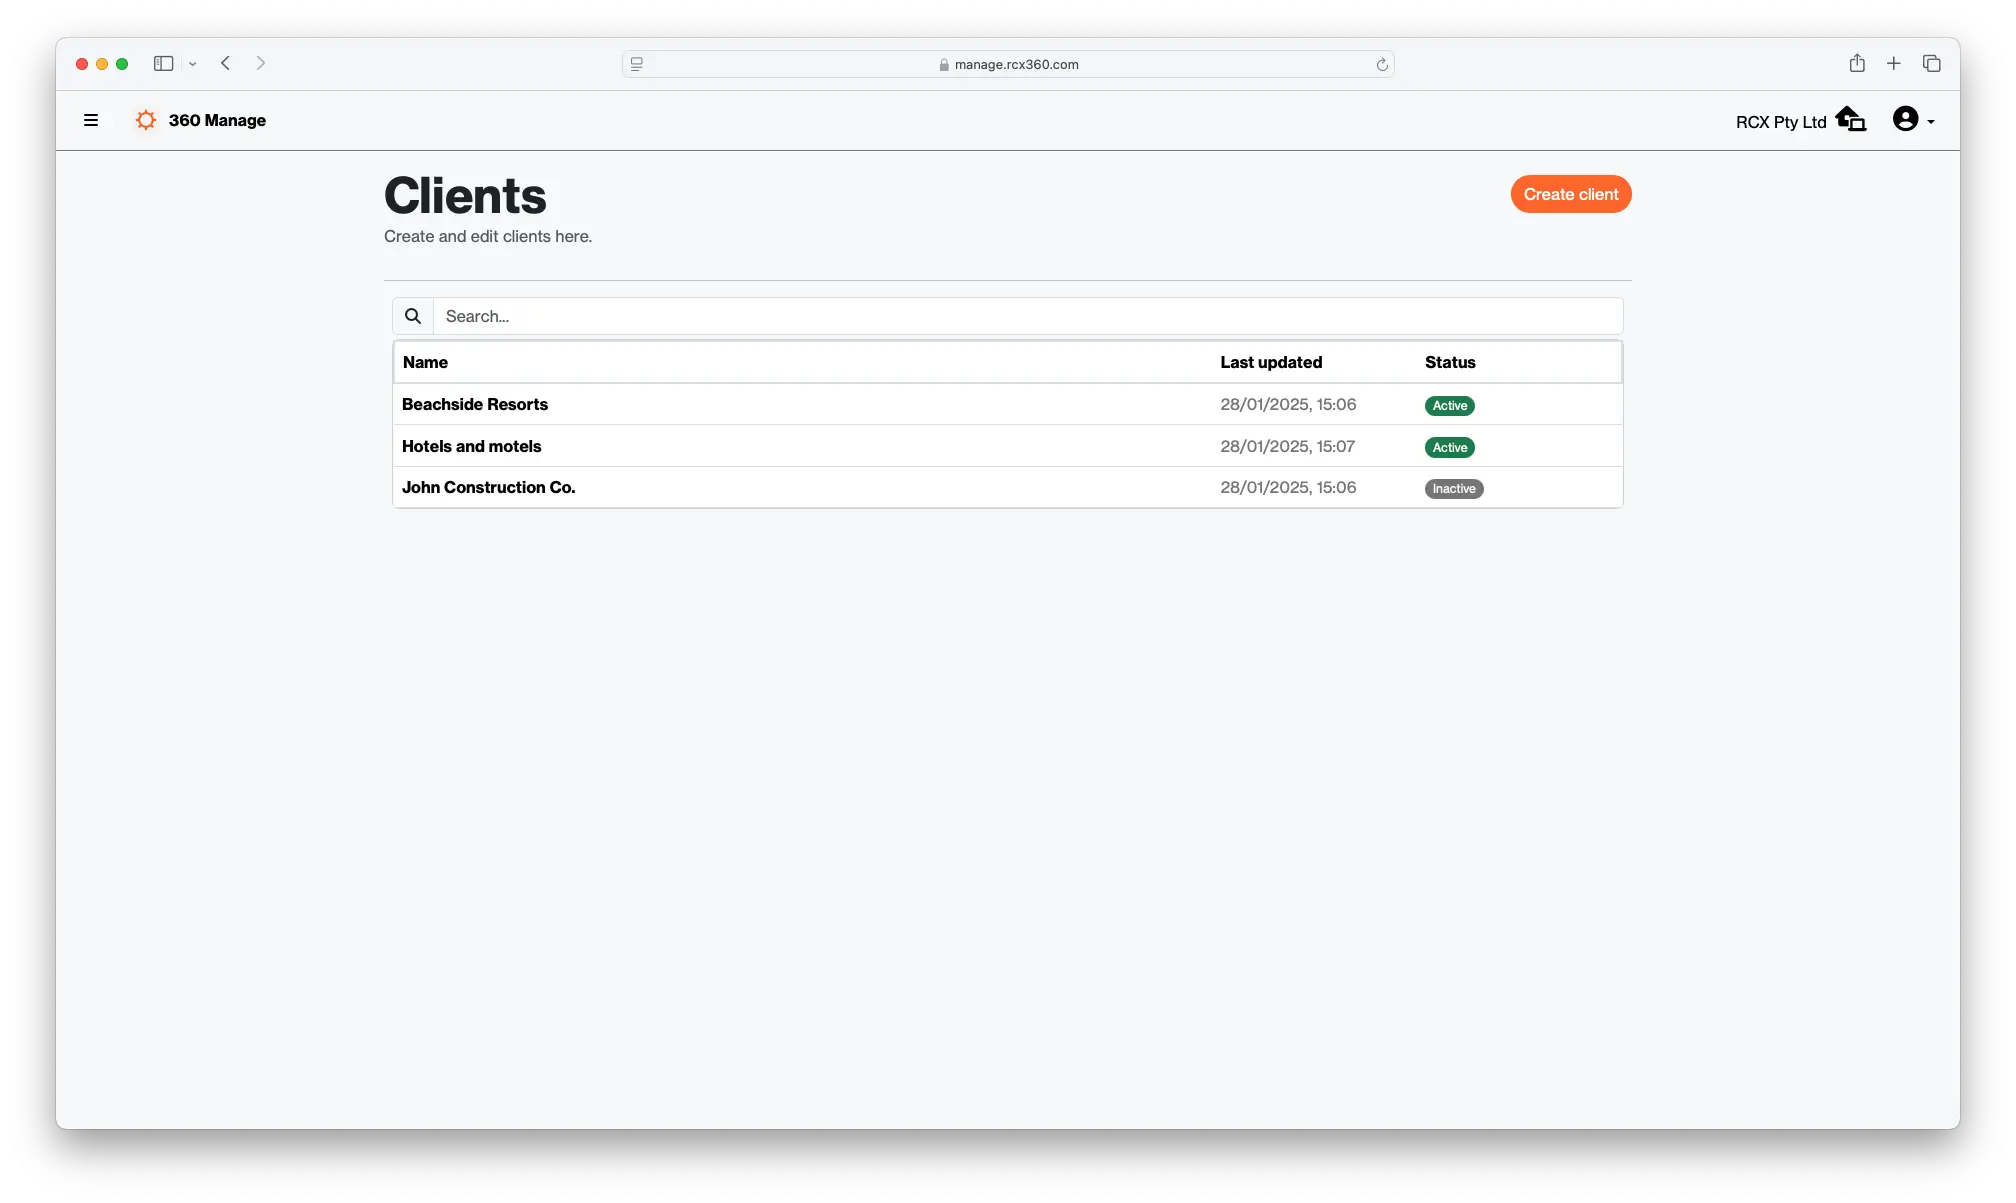
Projects can be assigned to a client. A client is essentially a container that holds similar projects together, and allows for easier assignment management.
By assigning a user to a client, this allows a user to see ALL projects that are assigned to the client.
Clients are optional; a project can be found even if it isn't assigned to a client. But it might make finding projects and views just that little bit easier.
A client consists of the following:
- A name,
- A collection of assigned projects, and
- A collection of assigned users.
Creating a new client
After accessing the list of clients from the dashboard or sidebar, click Create to get started. During the creation process, add a name and select any project or user you wish to assign to the client.
Assigning projects
Projects can be assigned to a client by ticking their entry in the list and submitting the client creation form. Alternatively, while editing or creating a project you can assign a client from the dropdown menu.
New projects can be created by pressing the Create project button.
Assigning users
Users can be assigned to a client by ticking their entry in the list and submitting the form. Assigned users have access to all projects assigned to the client. This is great if you have multiple projects and want to effortlessly grant access to a single user.
- New users can be invited and directly assigned by clicking
Invite user. - Existing users can be assigned to the client by ticking their entry in the list and submitting the edit form.
For more information, see users
Editing an existing client
Selecting a client from the list will allow you to edit. Here, you can change user assignment and access assigned project.From the three-dot menu, select "edit client details" to change the name of the client.
Managing status of a client
Clients can either be published or archived.
For more information, see content status.